A return to my childhood

A couple of weeks ago I was on a mission. This mission involved visiting all of the thrift and antique stores in Sandy to find this thing I was looking for. I didn't find what I was looking for in the thrift stores but I found a lot of other great things. I found lots and lots of old cameras. I resisted temptation for most of it but this one I had to buy. To my credit, I waited an entire day to let it simmer before I went back to the Goodwill to buy this old camera. It is a Keystone Pocketflash 106 and I picked it up for $2.99. I decided I needed it because several months ago I accidentally bought<a href="http://shop.lomography.com/us/films/110-film" target="_blank"> 110 film from Lomography</a>. I thought it might be fun to use it. I bought a film called <a href="http://shop.lomography.com/us/films/110-film/lobster-110-redscale" target="_blank">Lobster Redscale</a>.

I can't express how giddy it makes me to hold this camera in my hands. I had one very similar to this when I was a kid, it was the camera I cut my teeth on. I took photos of everything with it! It was a blast to play around with this. It even has a flash! I am a happy girl.

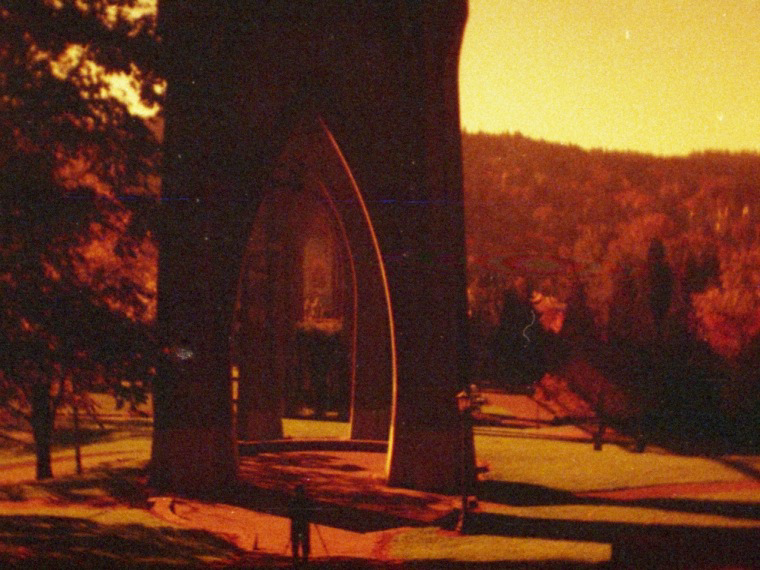
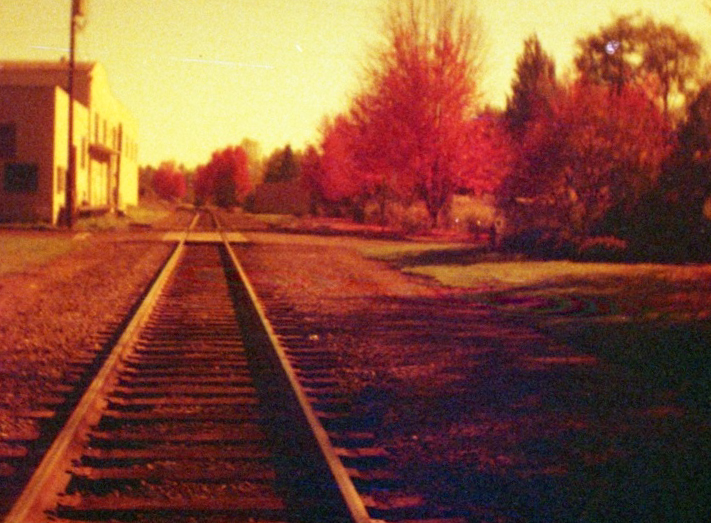
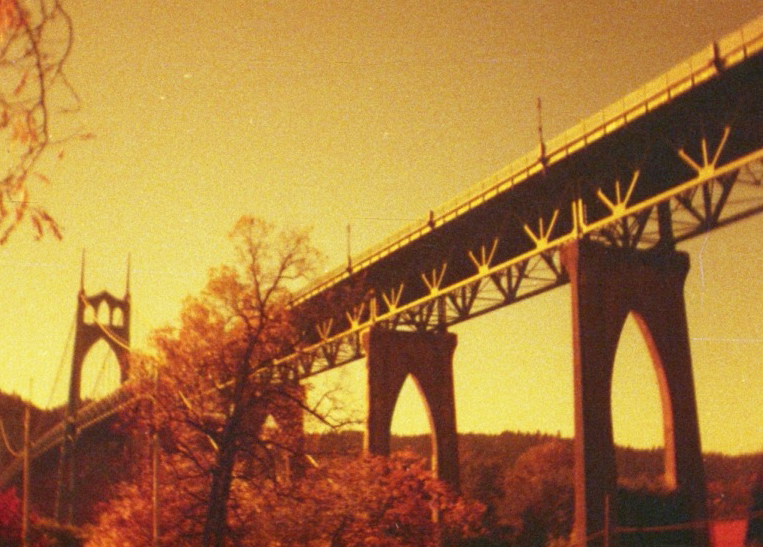
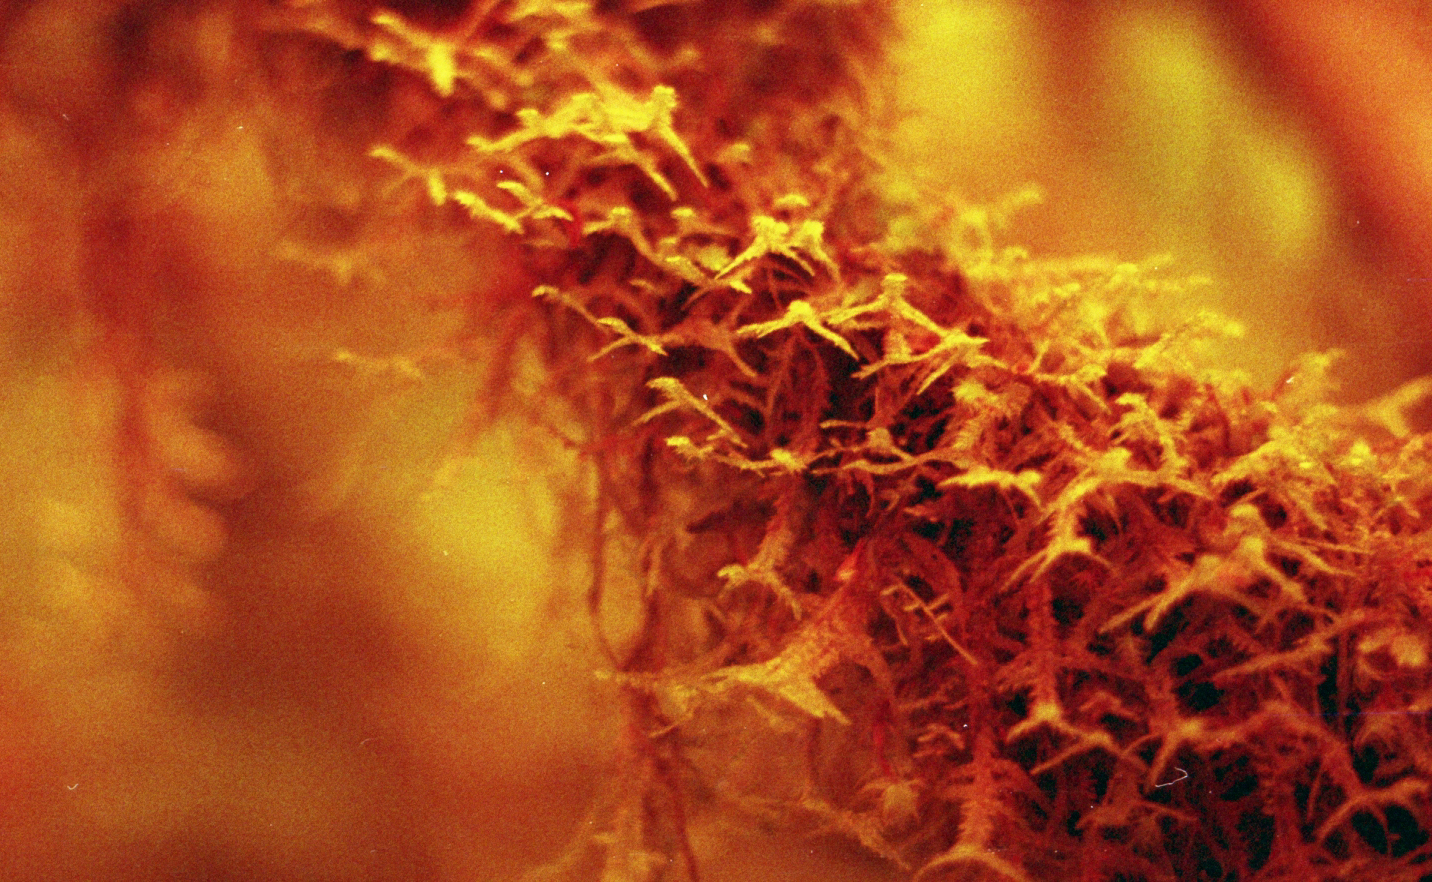
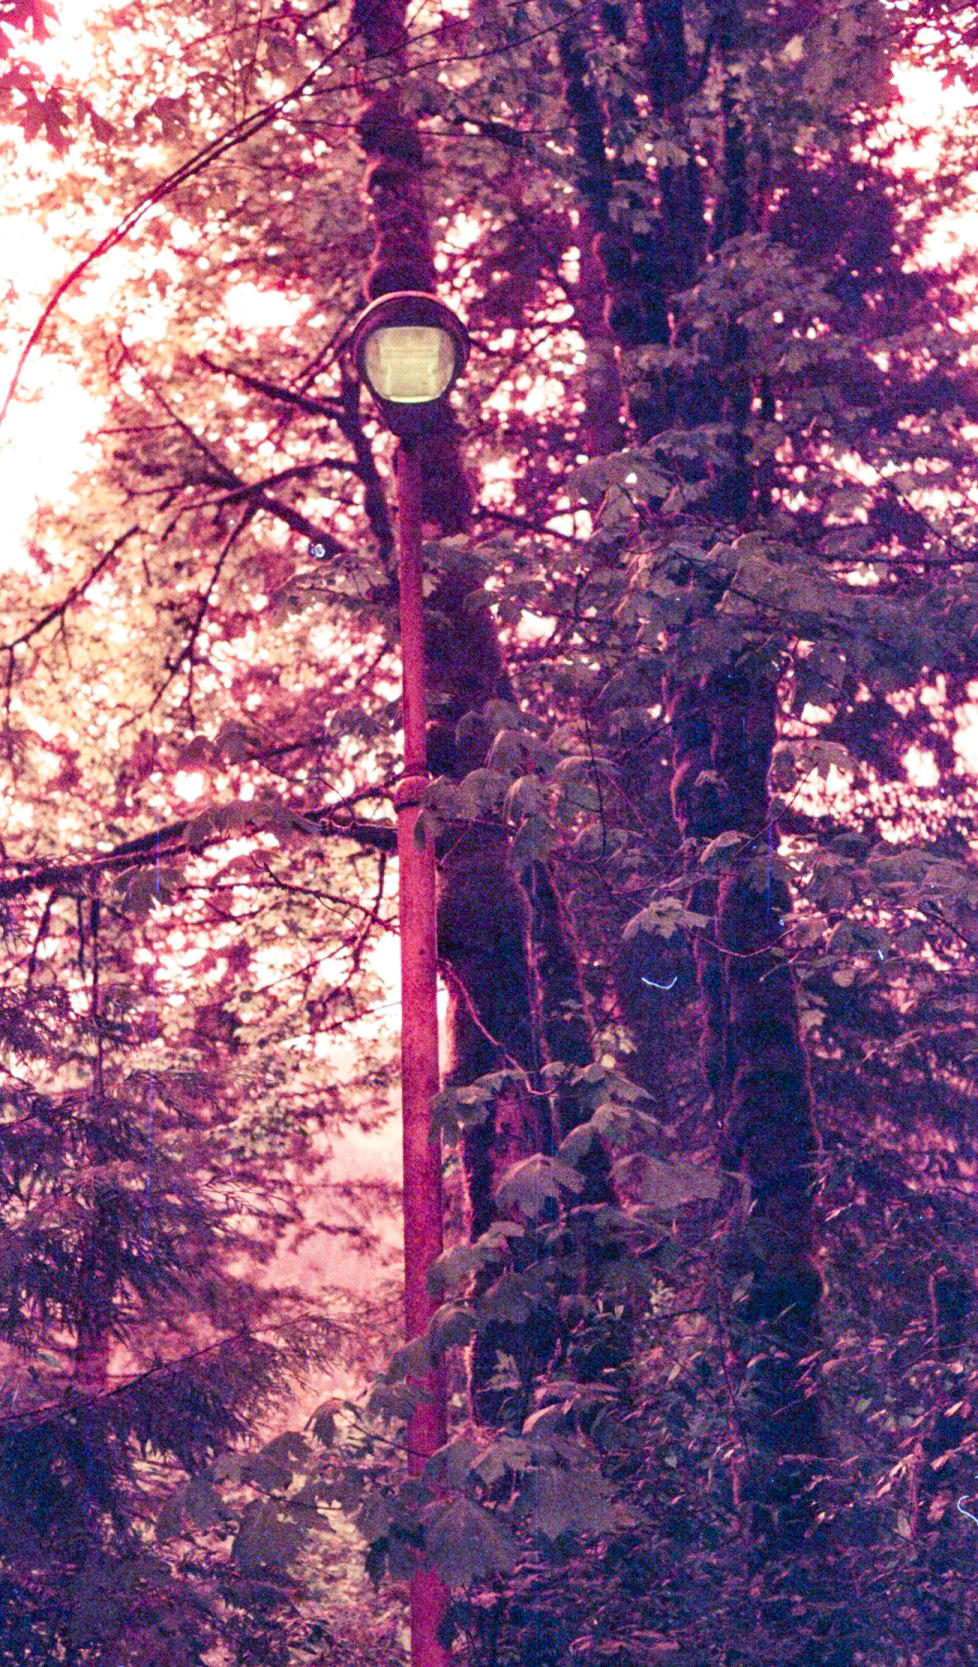
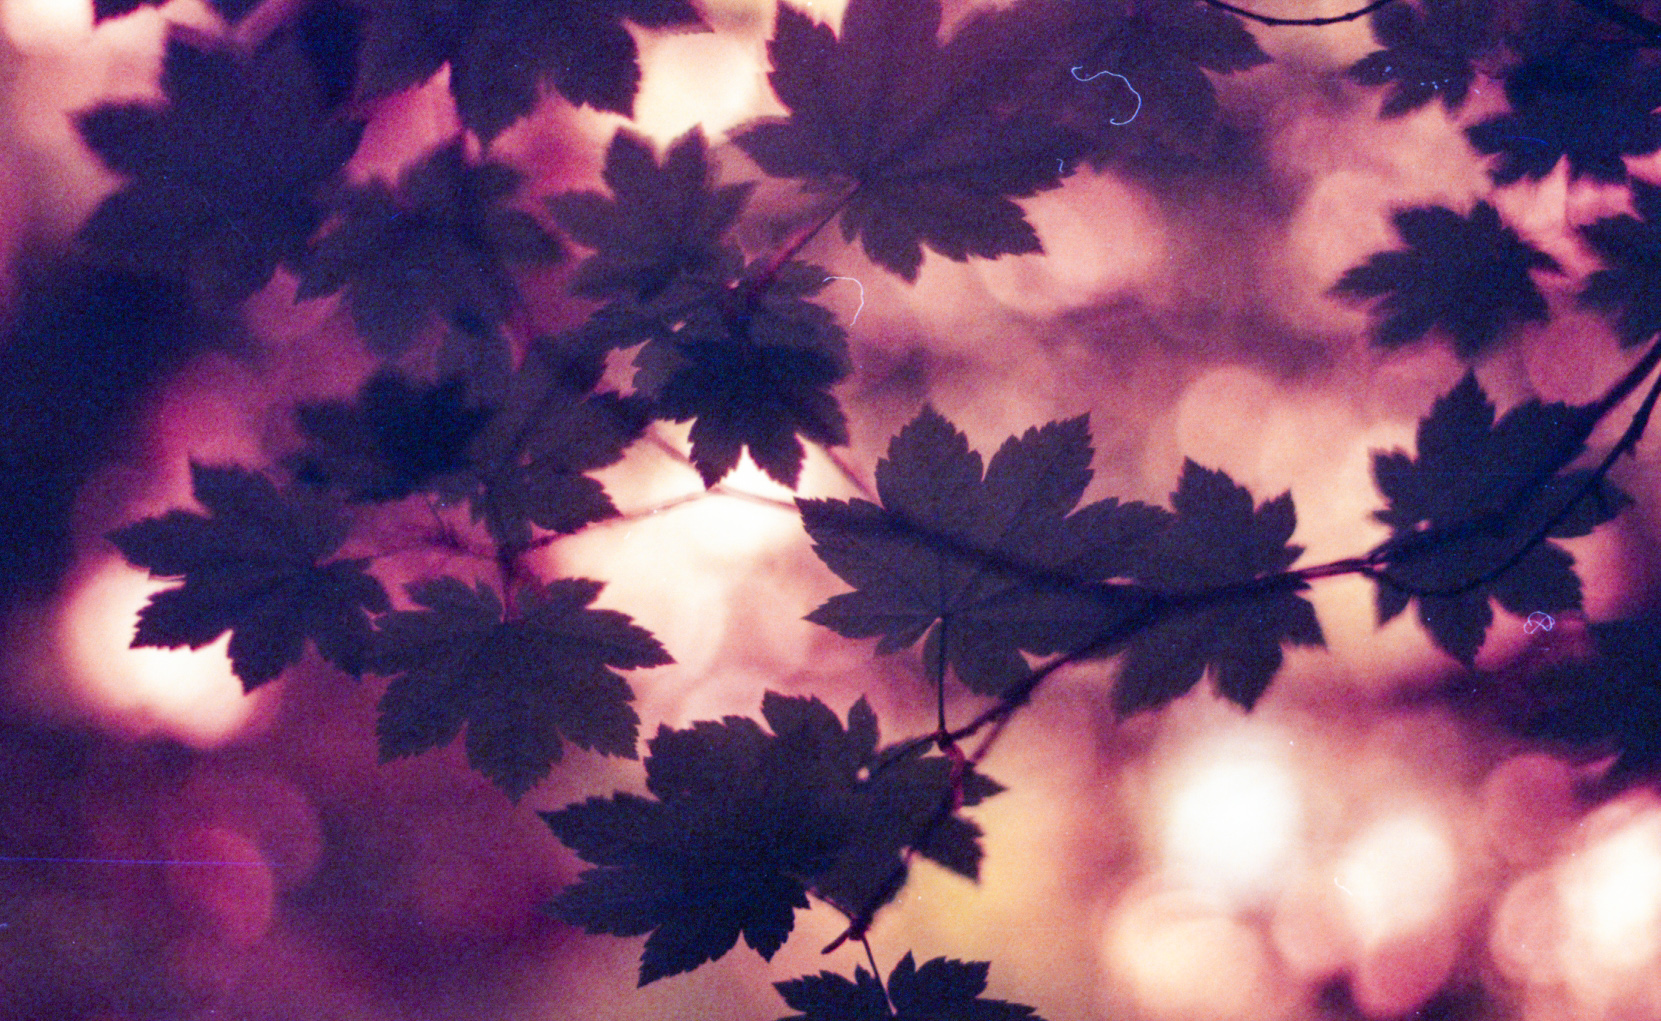
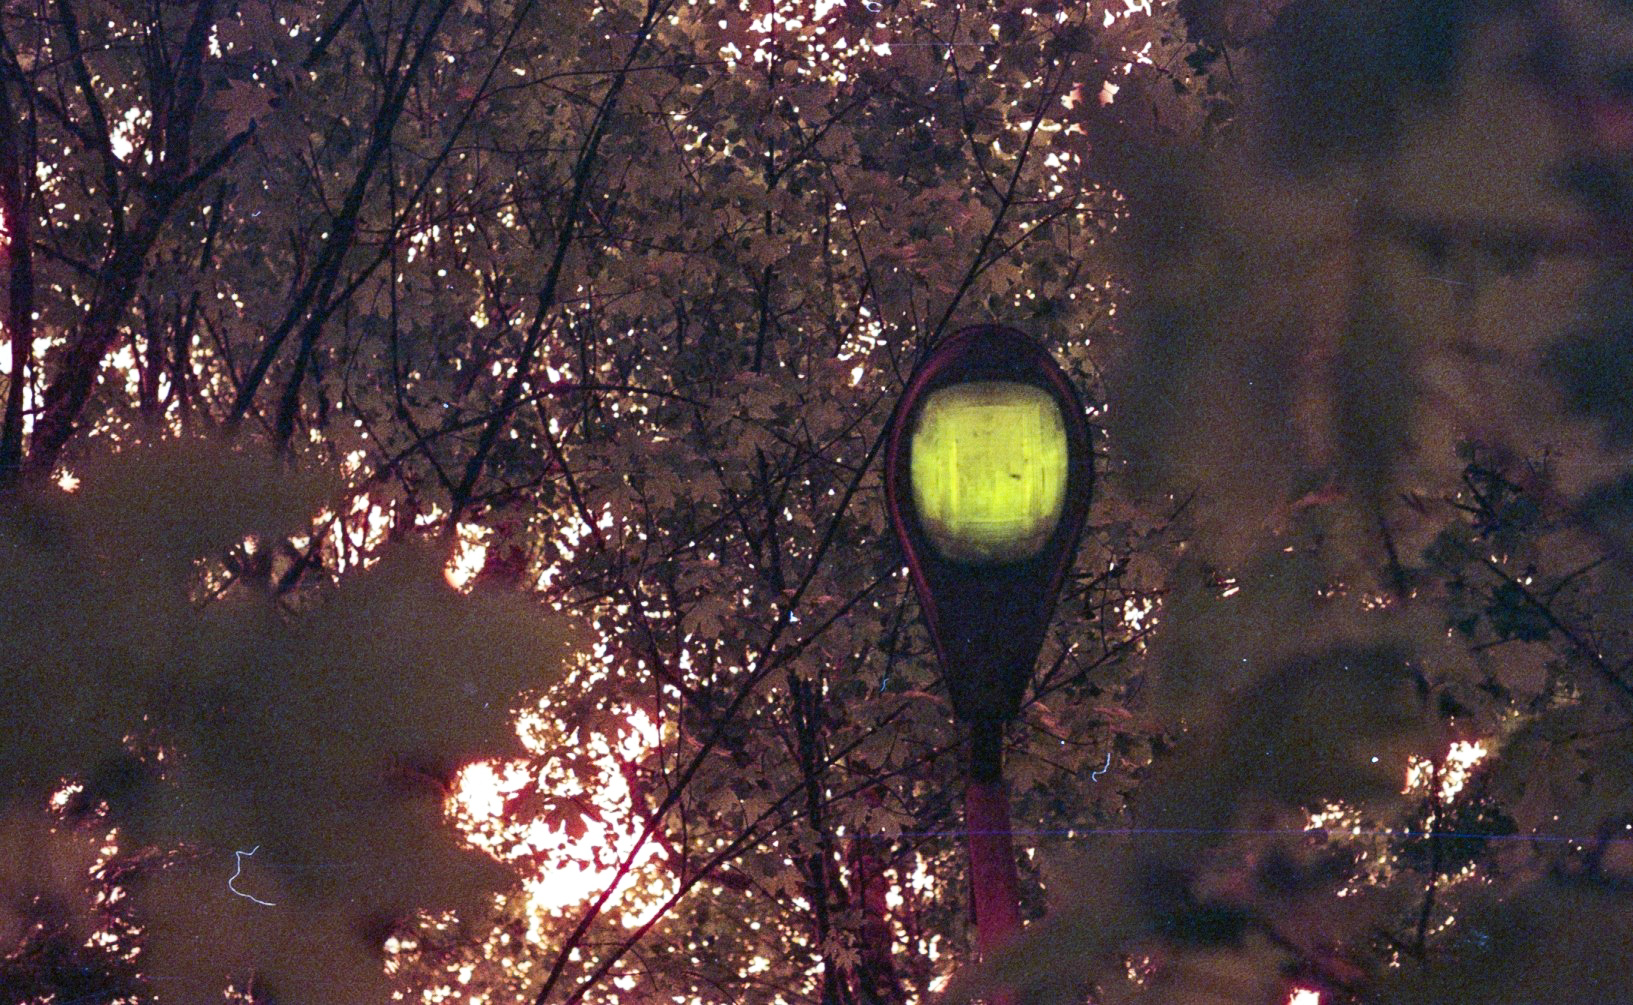
The photos are terrible quality, as they always have been with these types of cameras but, still. There are a few from the roll that are passable. These I took at <a href="http://en.wikipedia.org/wiki/Cathedral_Park,_Portland,_Oregon" target="_blank">Cathedral Park</a> in Portland, Oregon.

Red

I tried redscaling film. Have you heard of this technique? I hadn't until about a year ago. It is when you expose the film on the wrong side. The red sensitive layer of film is exposed first, which dominates and produces the ultra red cast. This process requires you to wind your film upside down in a film canister. You can buy film that has been redscaled or you can easily do it yourself (which is what I did).

Some of the film swap photos were redscaled, which produced some really cool effects since both sides of the film were exposed.

I am still not quite sure what to make of the photos I took. I know that I like them though. The intensity of the red varies from very deep, blood red as in the photo above, to a little bit more subtle:

I really like the surreal effect it has on the forest.

It is most definitely fun, though. I will be playing with this technique more!

Negative Stacking - Part 2

Last night in my darkroom class we learned some image manipulation techniques. Weirdly and unexpectedly my teacher mentioned negative stacking. I wasn't planning on doing this yesterday in the darkroom but I had to give it a shot, since she mentioned it. I picked out a couple of photos from the negatives I had just developed and sandwiched them on the light-box. As soon as I saw the baseball and the alley I knew I had to try it.

I love it! I want to do more. I want to get all cheesy and over the top with it. It would be hilarious if I could take a photo of the murderous, bird-killing neighbor cat and substitute it for the baseball.

This could get scary.

8592721408_ff6afb8388_o.jpg

An Attempt At Negative Stacking

My friend, Miss Gingersnaps, suggested on Twitter that I might be interested in trying this today. She must know me very well because I, indeed, am very interested. So I tried it! And this is what I came up with. I didn't put much thought into it. The scanner wanted the image to be very blue so I had to do some tweaking both in the scanner software and Lightroom. I didn't know what I was doing. But there you go. Kind of fun. Maybe I will try it again. It would actually be something fun to try in an actual darkroom.

The photos smushed together are this one and (I think)this one. The film used was Ektar 100 and Portra 400, respectively.

img002-2.jpg